black lace lingerie body

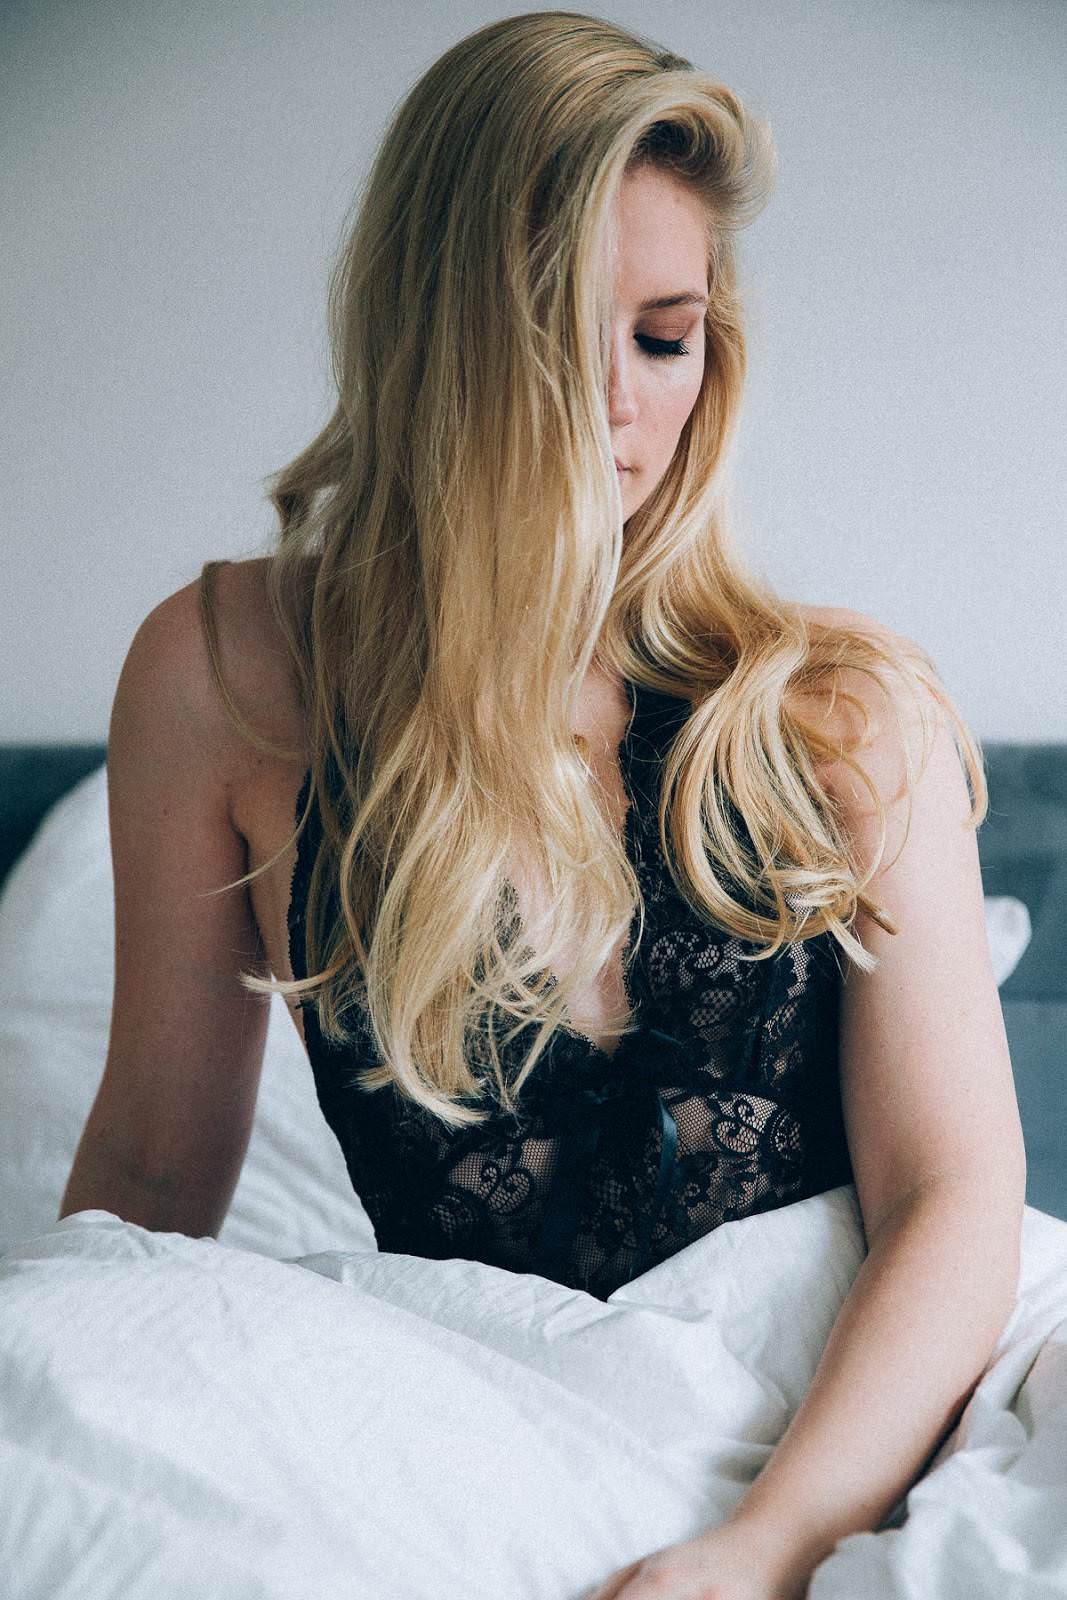
Celebrating the upcoming Valentine’s day as something big or not, it can always be a great excuse to treat yourself with something special. For me buying lingerie has never been a thing I do only for my significant other, I always do it for myself in the first place. Yes, it can add some extra excitement in the boudoir, but mainly it should be something women buy and wear for themselves. You know that they say, before you can truly love someone, you have to love yourself.

Even though society sometimes gives you the impression that sexy lingerie’s sole purpose is wearing it for the enjoyment of others, in my opinion you should choose to wear it for your own pleasure. In the end it doesn’t matter if your lover likes it (or even if he/she doesn’t even care about lingerie overall), the most important thing is that it brings you comfort and confidence. Confident people are happier people and they attract those with the same qualities. In the end, you don’t really need a lover to love wearing lingerie.

Lingerie from NEW YORKER
Photo: Domen Blenkuš

fringe leather jacket style

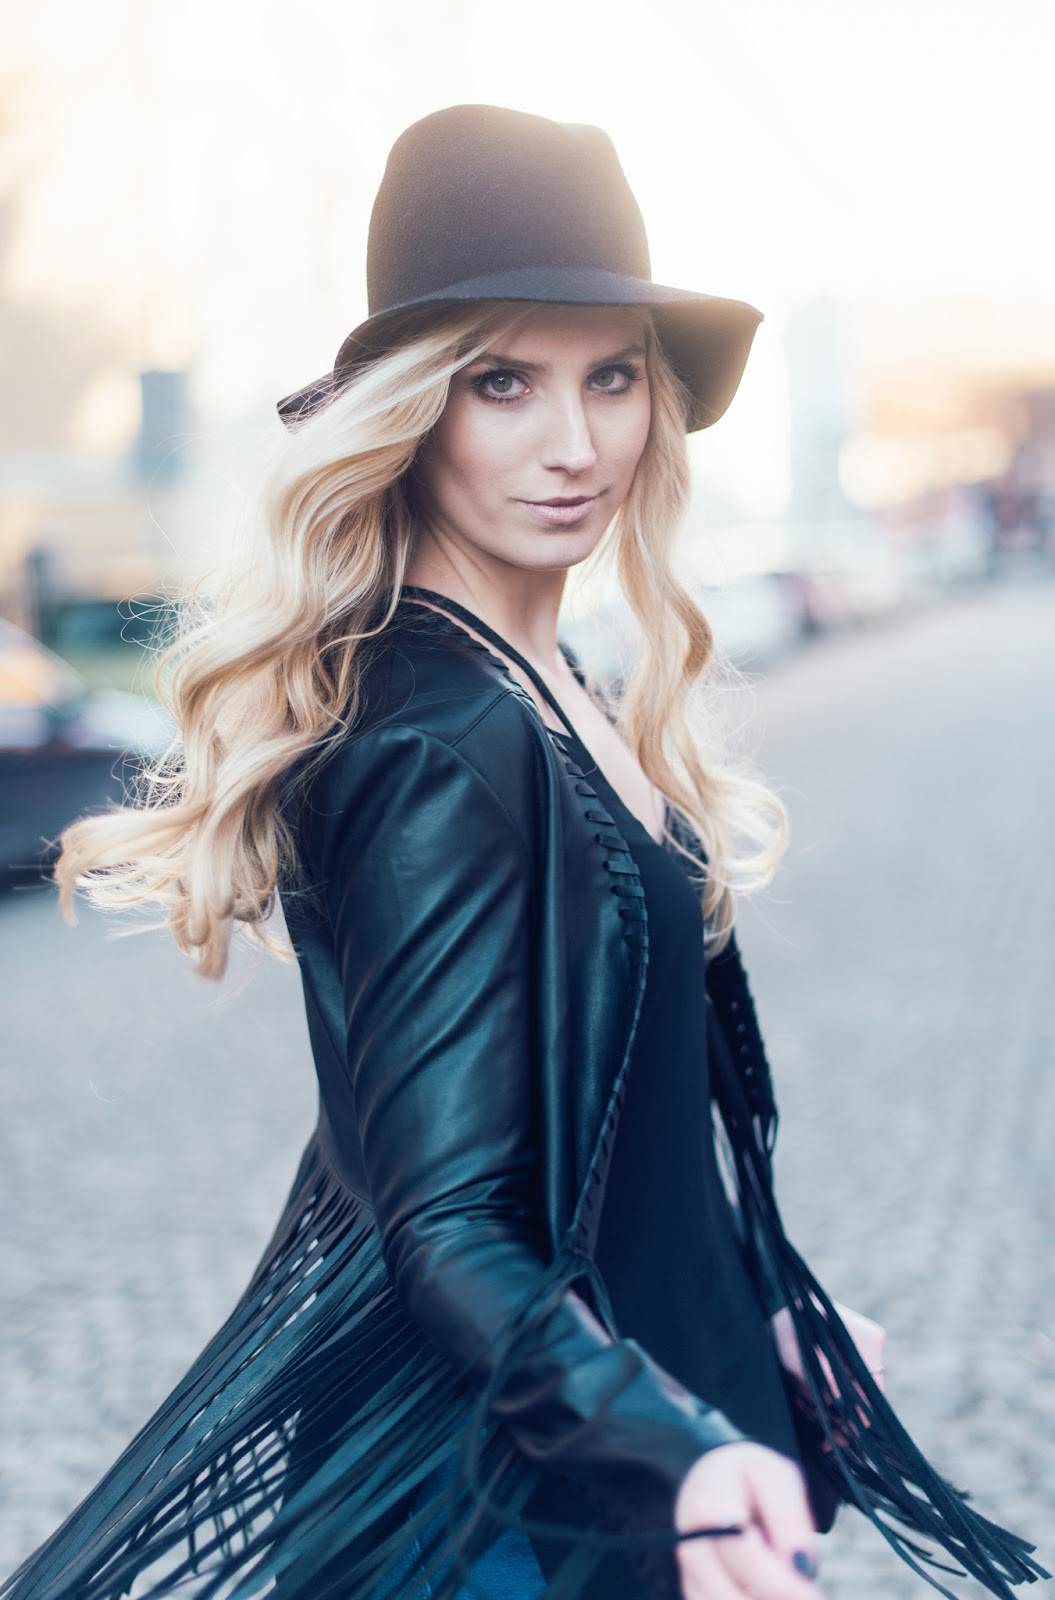
The fringe trend is having its moment for quite some time now and it’s definitely always an eye-catcher. This 70s trend hasn’t passed me by either, the first time it featured on my blog was a while ago in form of a camel suede cardiganand a black dress, today in it’s second opportunity.

Me and my good friend (also known as my boss aka editor of Etiketa Magazin), a blogger newbie Eva decided to style the same black fringe leather jacket from New Yorker, each in our own way. For me it represents a fresh take on a classic wardrobe staple, with a western (and a bit rock-ish) touch. When working this detail statement-making piece into my wardrobe, I decided to keep it dark and simple, at least this time. So, keeping the rest of the look simple, a black tea underneath, skinny jeans, black pumps, a hat and a small fringe purse to keep up with the theme, my outfit was a nice counterweight to Eva’s a bit more romantic approach (check it out here). I love how the long strands dance with a wind, making each outfit effortlessly cool and a lot more fun.

outfit: NEW YORKER
photo: Katarina Veselič

View Post

Bobbi Brown beauty blog

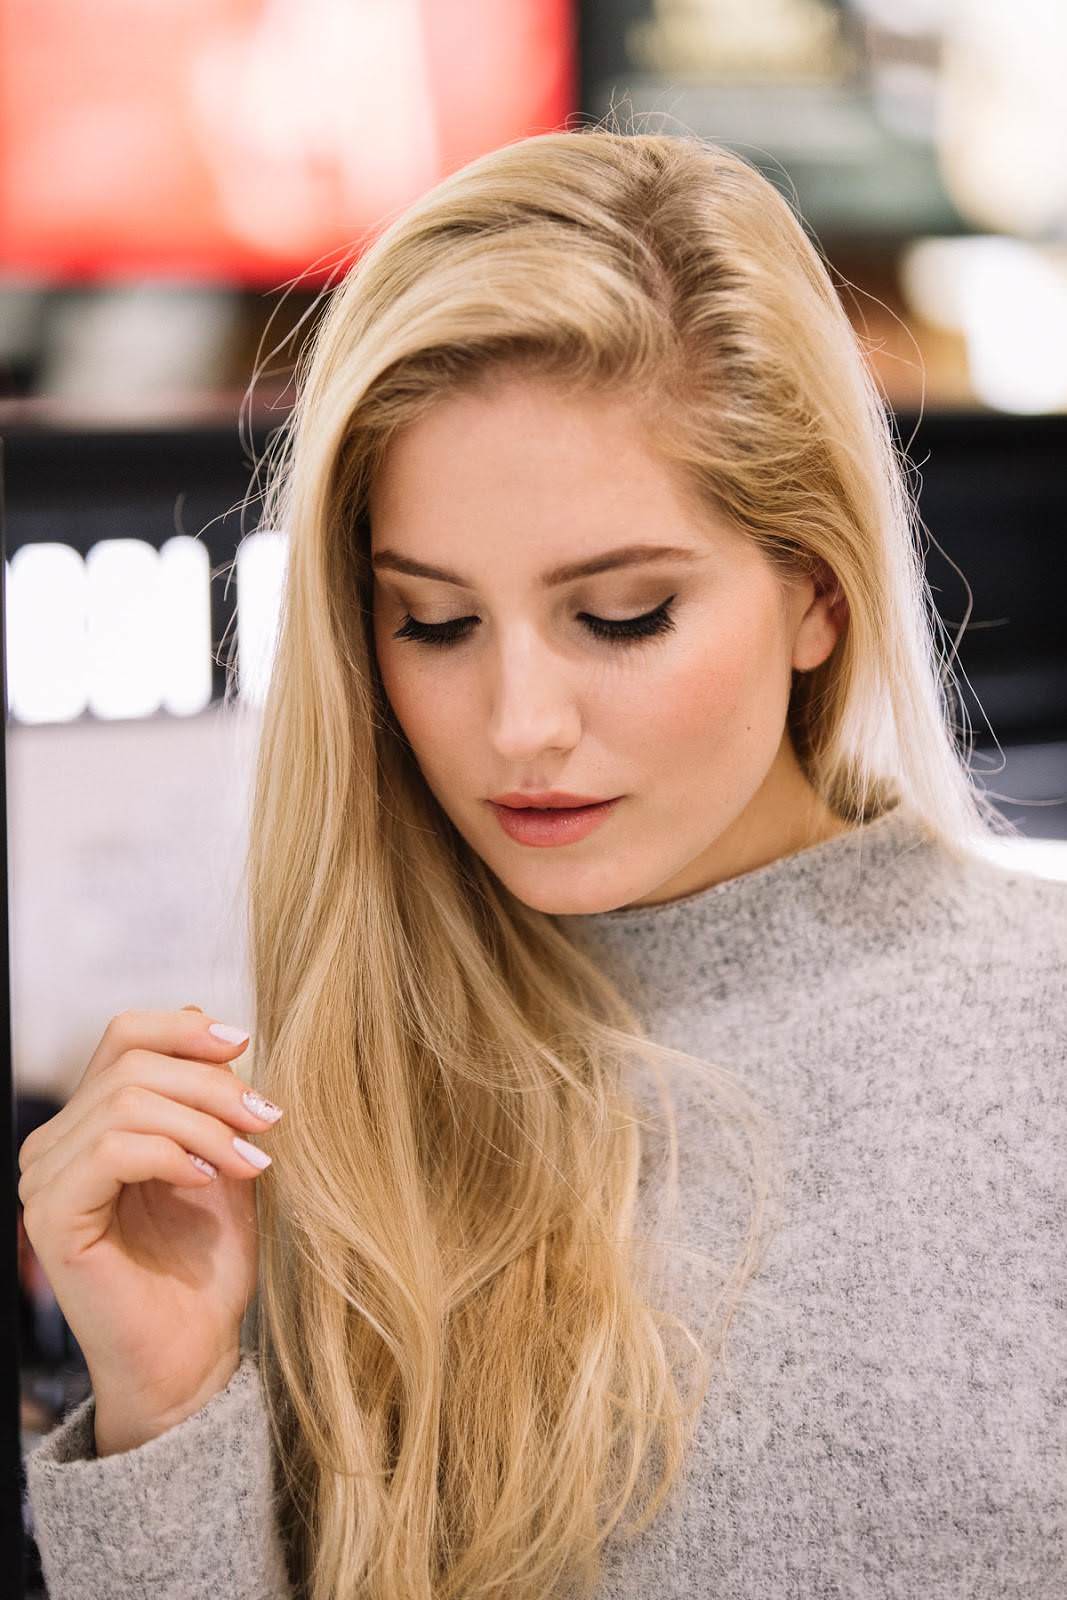
A week ago I had the chance to meet the Head of Artistry and Teaching at Bobbi Brown, world renowned makeup artist Eduardo Ferreira. I was one of three Slovenian media/editors who had the chance to experience an hour long individual makeup class and chat with him. You can imagine my excitement, when I found out I was going to learn from the makeup genius himself. The main Bobbi Brown focus is to empower women’s natural beauty and Eduardo definitely follows this approach religiously. We focused on how to cover up my dark circles, he gave me so many useful advice and shared a lot of interesting tricks with me. He did my makeup (obviously) as well, which was natural, my skin was dewy, the focus was on the eyes with the black eyeliner line, lips were in my favourite nudish shade. I decided to share my experience via photos, as well as sharing top 20 tricks I picked up from my Bobbi Brown lesson. The makeup you see on the photos I wore throughout the whole day, even at the exclusive evening Bobbi Brown event at Ljubljana Castle, where Eduardo Ferreira again showed us some tricks.

Which 20 tricks/commandments may change your makeup routine for good?

1.The so called no-makeup glowy look is »in« this season. So, keep it natural.

2.Your foundations should be a bit more yellow toned for your face to look as natural as possible.

3.You have to have good light when choosing a foundation. Good lighting is a must when applying makeup as well. At Bobbi Brown they will swatch at least 3 shades of foundation that’s similar to your skin tone on the side of your face; they will double check the one that disappears and blends into your skin on you forehead as well.

4.Use powder only where you (oily) shine. The powder shouldn’t change the shade of your foundation.

5.You can apply liquid and cream products with your fingers. The moisture of your fingers will help the foundation blend nicely.

6.A good skincare is extremely important, especially if you’re trying to achieve that healthy, glowy skin. After the moisturizer follow up with the Bobbi Brown Extra Illuminating Moisture Balm and before the foundation add some highlighter (like BB Shimmer Bricks).

7.The first step of covering up the dark under eye circles is to make sure you have no mascara or liner residue around your eyes.

8.When covering up your dark areas, a corrector and concealer (in the right shades) will be your best friends. For dark circles use a pink or peach toned corrector to counteract and neutralize discoloration. Add a layer of yellow toned concealer on top (this one should be one shade lighter than your skin tone). These two are Eduardo’s favourite Bobbi Brown products as well.

9.Use a dramatic mascara on the top lashes (like their Smokey Eyes mascara) and use a different one for the bottom lashes, to make them softer (like BB Intensifying Long-Wear mascara).

10.If you have a lot of redness on your cheeks, use a natural bronzer instead of a pink blush (bronzer can be your blush).

11.The most natural looking blushes are pink, quoting Eduardo: “no one blushes orange or coral”. So, use a pink blush in order to look natural. Apply it starting on the apples of the cheeks, then blend up towards the hairline and down the cheek to soften the transition.

12.To find the most flattering everyday blush shade, match it to the colour your cheeks turn after you’ve lightly pinch them.

13.Forget about heavy contouring, it’s not a trend anymore. Keep it natural.

14.Use a lip pencil whenever you wear darker, bolder colours – apply it after the lipstick, the shades should match nicely. Otherwise you don’t need one, especially if your lips are defined.

15.The most natural looking lipstick shades are the ones that are up to two shades brighter or darker than your lips.

16.When you line your lashline, start on the top of the line and cut it where your crease starts, then close the triangle. Follow up with the inner part of the eye, make small dots right next to each other. Apply it between your lashes as well, no skin should be visible there. Liner should be on the whole lashline, the half-eye eyeliner look is not in trend anymore.

17.Eyeliner line should be thick enough to be visible when your eyes are open. It shouldn’t be too thick either.

18.When you line your lower lashline, make sure this line is softer and thinner compared to the upper lashline. Top and bottom lines should meet at the outer corner of the eye.

19.Nicely (but naturally) defined brows will frame your face. Remember, they are not twins, they are sisters, so there’s no need for them to be identical or symmetrical.

20.For the most natural look, define your brows with shadow using a brush. Apply with feathery strokes, start at the inner corner and follow to the outer corner. If you have gaps, use a brow pencil. Apply some translucent powder with your eyeshadow brush over your brows to make them more defined and natural.

photo: Domen Blenkuš

View Post

Artistry make up

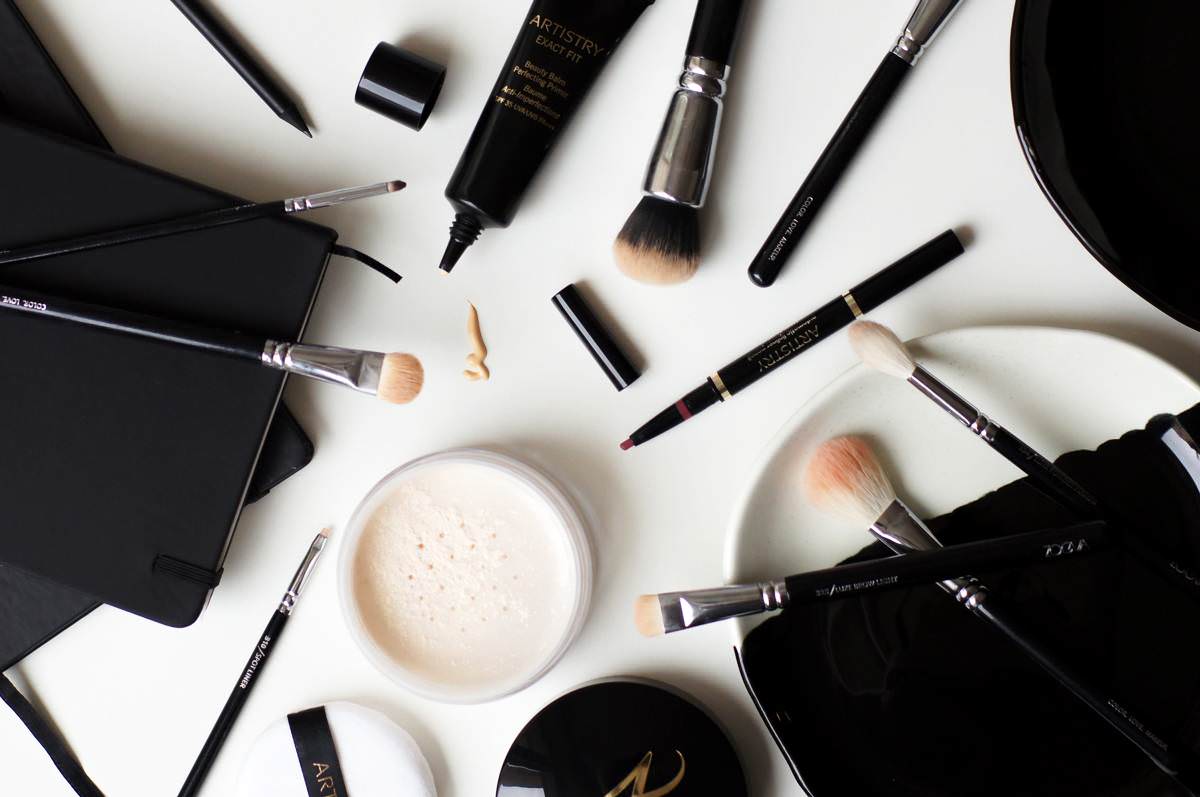
I’ve got 3 beauty bits from Artistry to show you today, all 3 have won my heart immediately and have been a part of my makeup regime for quite some time now. The thing I can say about all of them is that their formulas definitely live up to the price tag, they are and feel marvelous. Want to know why? I can count at least 3 reasons for each…

Artistry Exact Fit Beauty Balm Perfecting Primer
#1 reason – it’s a primer: It’s lightweight formula smoothes, prepares and refines the skin, while delivering a flawless makeup application and prolonging the foundation. It works great blurring skin’s imperfections and the look of pores.
#2 reason – it’s also a perfecting base: it can also be worn by itself, without any need for an additional layer. A blend of Tahitian pearls and optical prisms in the formula adds a light coverage. The finish on the skin is luminous (has some small shimmer as well), healthy and natural, pores are less visible. It’s a perfect match for anyone looking for a sheer, light and wearable everyday base or BB cream. The single universal shade will match even the palest gals out there.
#3 reason – it works as a hydrating and protecting shield: in both previous uses, it will always work as a boost of instant hydration and nourishment, it leaves the skin looking soft and supple. It contains broad-spectrum SPF protection (35SPF UVA/UVB PA+++) and works as a shield from aging and harmful UV rays, as well as free radicals. That’s definitely the best selling point in my opinion, SPF in important (Everyday. Always.)

Artistry Exact Fit Perfecting Loose Powder
#1 reason – the finish is stunning: the blend of Tahitian peals and optical prisms gives a perfected, silky and luminous finish. It will look natural, even if you go over the top with it, it’s a true ground-breaker (I would still recommend you not exaggerate with the amount when applying, since it will last you way longer and there will be no need to thoroughly clean your bathroom each time you use it). It controls oils and shine (the more you use, the more matte look you’ll get), extends the foundations wear without drying out your skin. I find it perfect for my rather dry and dehydrated face.
#2 reason – you can use it as final setting powder or as a concealer setter: me personally, I rarely use it to finish off my entire makeup and set everything in place. When I do, I go for a fluffy powder brush and apply it as light as possible (I am not the biggest fan of applicator puffs, I must admit). However, my favourite way to use this one from Artistry is as a concealer setter. My main makeup concern is covering up my dark under-eye circles. Applying loose powder after the concealer is a must, if I want them to stay covered for at least a few hours. Most powders can add cakiness, especially in my already dry eye area. Well, this one doesn’t and therefore is one of my favourites.
#3 reason – using it to catch eyeshadow fall out: when doing a stronger eye makeup look – like black smokey eye, I add a thick layer of loose powder underneath the eyes and around the upper cheek area (I learned this trick years ago from a makeup artists I worked with as a model). This way the powder catches all the fall out and when I am done with my eye makeup, I simply sweep the excess powder off. This one works great, the biggest plus is the fact that it doesn’t cake up my face in the process.

Artistry Automatic Lipliner Pencil
#1 reason – it looks great on everyone: Artistry developed their lipliners to be as universal as possible. They are all natural and perfect for defining your lips. I picked up a Dusty Rose shade, which complements a variety of looks and matches quite a lot of my neutral-rosy-nude lipstick shades. It’s one of my top shades I own overall.
#2 reason – lining around lips or filling them in: you can use it to outline your lips and therefore prevent feathering and redefine your lipline. My favourite way to use this one is to cover my lips in it and apply a similar lipstick shade (lipliner will help your lipstick last longer) on top, only use a lipbalm or even wear it by itself. Although is matte, it doesn’t feel uncomfortable on my lips, probably due to antioxidant vitamin E and a special blend of ingredients it contains.
#3 reason – the packaging is a winner: firstly, you choose a refill shade and snap it into the pencil holder. The holder itself contains a handy lip brush applicator on the other hand, which comes extremely helpful when trying to fill in or blend any missed area. The brush works with the liner itself, as well as being great to precisely apply a lipstick. The liner doesn’t need sharpening, you just swirl it up and start lining.

View Post

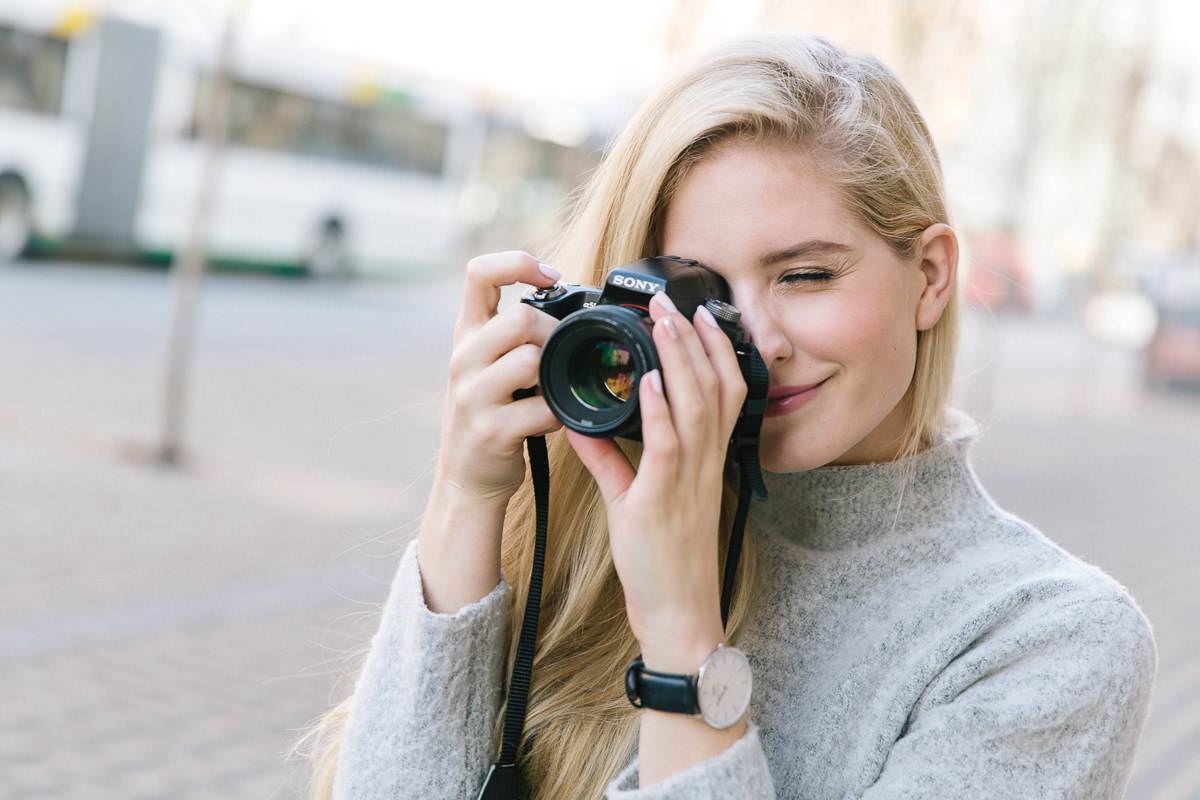
I am by no means a professional photographer, however taking photos became a (more serious) hobby of mine soon after I started my blog. All of my beauty and travel related photos are shot by myself (with some help of my boyfriend occasionally) and since I get quite a few comments and questions about what equipment I use, I thought it might be a nice idea to share them with you in a blog post. A good photo is something that pleases me a lot, and being said that, it’s a lot easier to capture one with good equipment (you have more creative space as well as editing is much easier if a photo looks nice to begin with). Want to know which cameras I use?

Sony α55, my main camera
Sony α55 is my main camera, which is not a traditional DSLR. It’s described as a hybrid that, like a compact is from the ground built around live view (which is super handy), but on the other hand still capable of offering full-time DSLR capabilities. I use two Sony lenses to take my photos – 3.5-5.6/18-70 one, that works great as an all-rounder and a 1.4/50, which is superb for taking portrait photos as well as product photography (especially, if you want that soft, blurry background and a nice depth of the field; even in darker spaces). This combo is at the moment pretty much everything I need.

Sony HX90, my travel compact
Being a Sony fan (as my father-in-law), my smaller to-go camera choice (my rather new acquisition), is also a Sony – Sony HX90. It’s a travel compact that offers an amazing 30x zoom, while it’s small enough to be taken everywhere with me (you can even fit it in your pocket). It’s sleek and light, offering great manual control and has a flip screen, which is the greatest invention ever for taking selfies. I would highly suggest this mini to all who are looking for a handy compact camera with amazing specifications.

Huawei P8, my smart phone
I switched from iPhone to Huawei a few months back and I must say that I am not regretting this decision. I am highly pleased with my Huawei P8, one of the main reasons is definitely its great camera. With it’s 13-megapixel main camera and 8-megapixel front-facing one it’s probably the best you can get for this money, it does a great job enhancing colours and overall takes marvelous photos. Most of my Instagram photos are shoot by Huawei P8 – you can read the whole How I edit my Instagram photos post HERE, if you are interested in some in-depth IG editing tips.

photo: Domen Blenkuš

View Post